Configuration GUI
GNSS configuration can be done through the GUI, which provides extensive options for configuring GNSS receiver settings.
PyGPSClient is a graphical tool for configuring u-blox GNSS receivers. The interface is similar to the official u-blox configuration tools, u-center and u-center2.
Identify the USB Device
List connected serial devices to locate your GNSS receiver:
ls -l /dev/serial/by-id/
Example output:
lrwxrwxrwx 1 root root 13 Aug 13 11:13 usb-u-blox_AG_-_www.u-blox.com_u-blox_GNSS_receiver_F9P-if00 -> ../../ttyACM1
lrwxrwxrwx 1 root root 13 Aug 13 11:13 usb-u-blox_AG_-_www.u-blox.com_u-blox_GNSS_receiver_F9H-if00 -> ../../ttyACM0
Note the device path of each receiver. The ttyACM numbers can change when the receivers enumerate again, so identify each receiver by its /dev/serial/by-id/ name.
Install PyGPSClient
Install PyGPSClient using pip:
python3 -m pip install --upgrade pygpsclient
For further details, refer to the PyGPSClient GitHub page.
Launch the Configuration GUI
Stop the core driver so the receiver serial ports are free:
sudo systemctl stop automatepro-core-driver
Start PyGPSClient:
pygpsclient
Select the appropriate serial port for your GNSS receiver in the GUI.
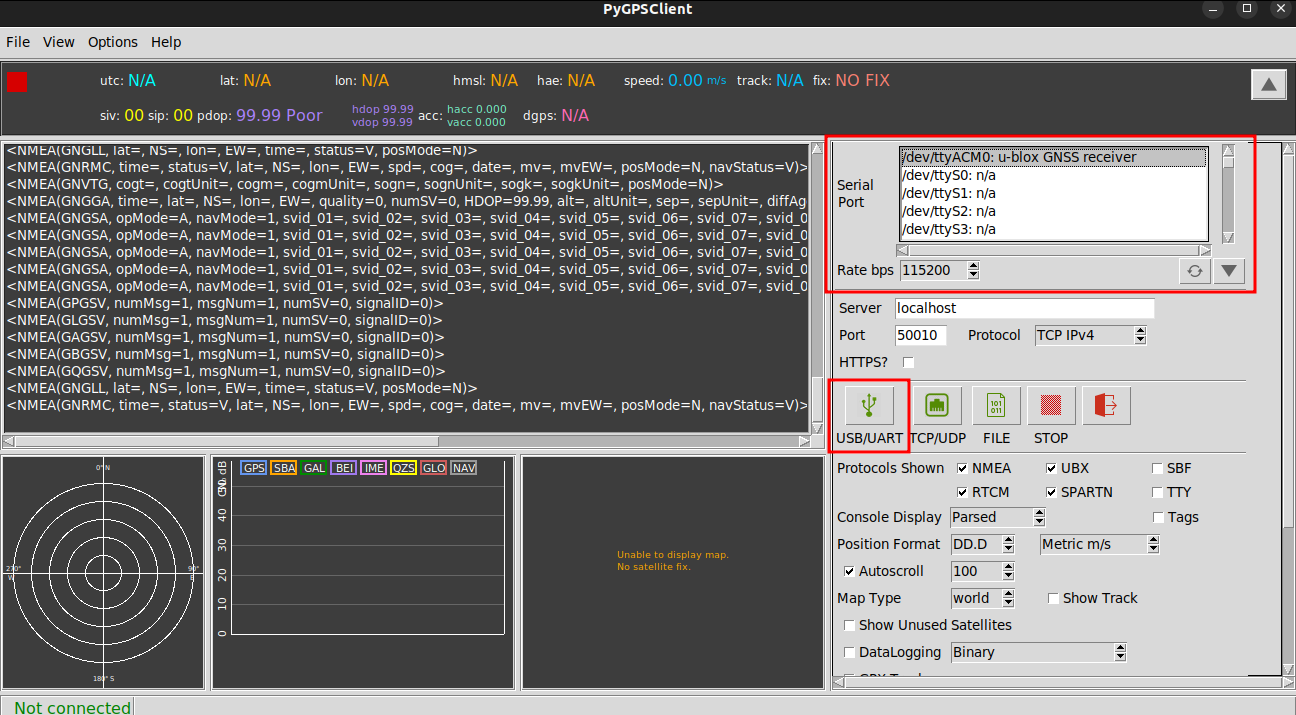
The main screen displays location and GNSS status in real time.
Configure GNSS Receiver Settings
Access the UBX configuration menu for advanced settings:
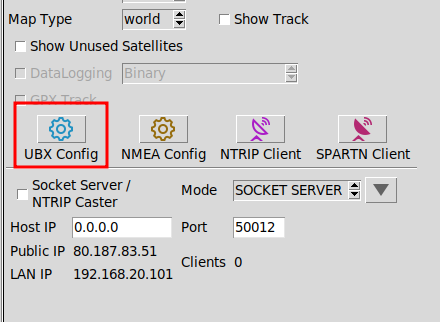
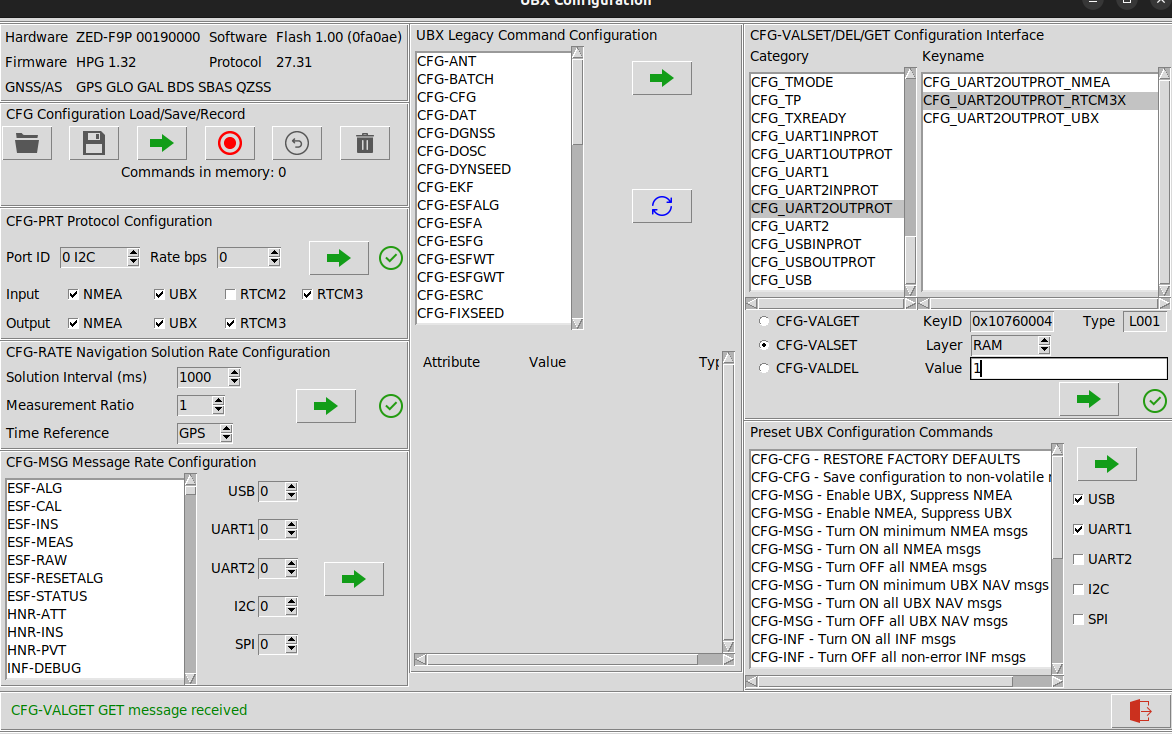
The UBX Configuration window provides full access to all available settings for the connected GNSS receiver. For detailed parameter descriptions, consult the u-blox F9 HPG interface description.
Differential Heading Configuration
The F9P is the moving base and the F9H is the rover. Write each setting to the RAM, BBR, and flash layers so it persists, and keep the UART2 baud rate the same on both receivers.
u-blox ZED-F9P
- Disable time mode and set a 1 Hz navigation rate:
CFG-TMODE-MODE 0x0
CFG-RATE-MEAS 1000
CFG-RATE-NAV 1 - Configure UART2 to send RTCM messages to F9H:
CFG-UART2OUTPROT-RTCM3X 0x1 - Enable the reference-station and MSM4 messages on UART2:
CFG-MSGOUT-RTCM_3X_TYPE4072_0_UART2 0x1
CFG-MSGOUT-RTCM_3X_TYPE4072_1_UART2 0x1
CFG-MSGOUT-RTCM_3X_TYPE1074_UART2 0x1
CFG-MSGOUT-RTCM_3X_TYPE1084_UART2 0x1
CFG-MSGOUT-RTCM_3X_TYPE1094_UART2 0x1
CFG-MSGOUT-RTCM_3X_TYPE1124_UART2 0x1 - Disable the MSM7 and 1230 messages on UART2:
CFG-MSGOUT-RTCM_3X_TYPE1077_UART2 0x0
CFG-MSGOUT-RTCM_3X_TYPE1087_UART2 0x0
CFG-MSGOUT-RTCM_3X_TYPE1097_UART2 0x0
CFG-MSGOUT-RTCM_3X_TYPE1127_UART2 0x0
CFG-MSGOUT-RTCM_3X_TYPE1230_UART2 0x0
u-blox ZED-F9H
- Set a 1 Hz navigation rate:
CFG-RATE-MEAS 1000
CFG-RATE-NAV 1 - Configure UART1 and UART2 to receive RTCM messages from F9P:
CFG-UART1INPROT-RTCM3X 0x1
CFG-UART2INPROT-RTCM3X 0x1 - Enable the heading output on USB:
CFG-MSGOUT-UBX_NAV_RELPOSNED_USB 0x1
Start the core driver again when you are done:
sudo systemctl start automatepro-core-driver